
How to Fix Heating and Air Conditioning Safely: Checks, Symptoms, and When to Call a Professional
To fix a heating or air conditioning problem safely, first identify your equipment and rule out emergency warning signs, then work through five external checks…
By Mara Keene · · 21 min read
Overview
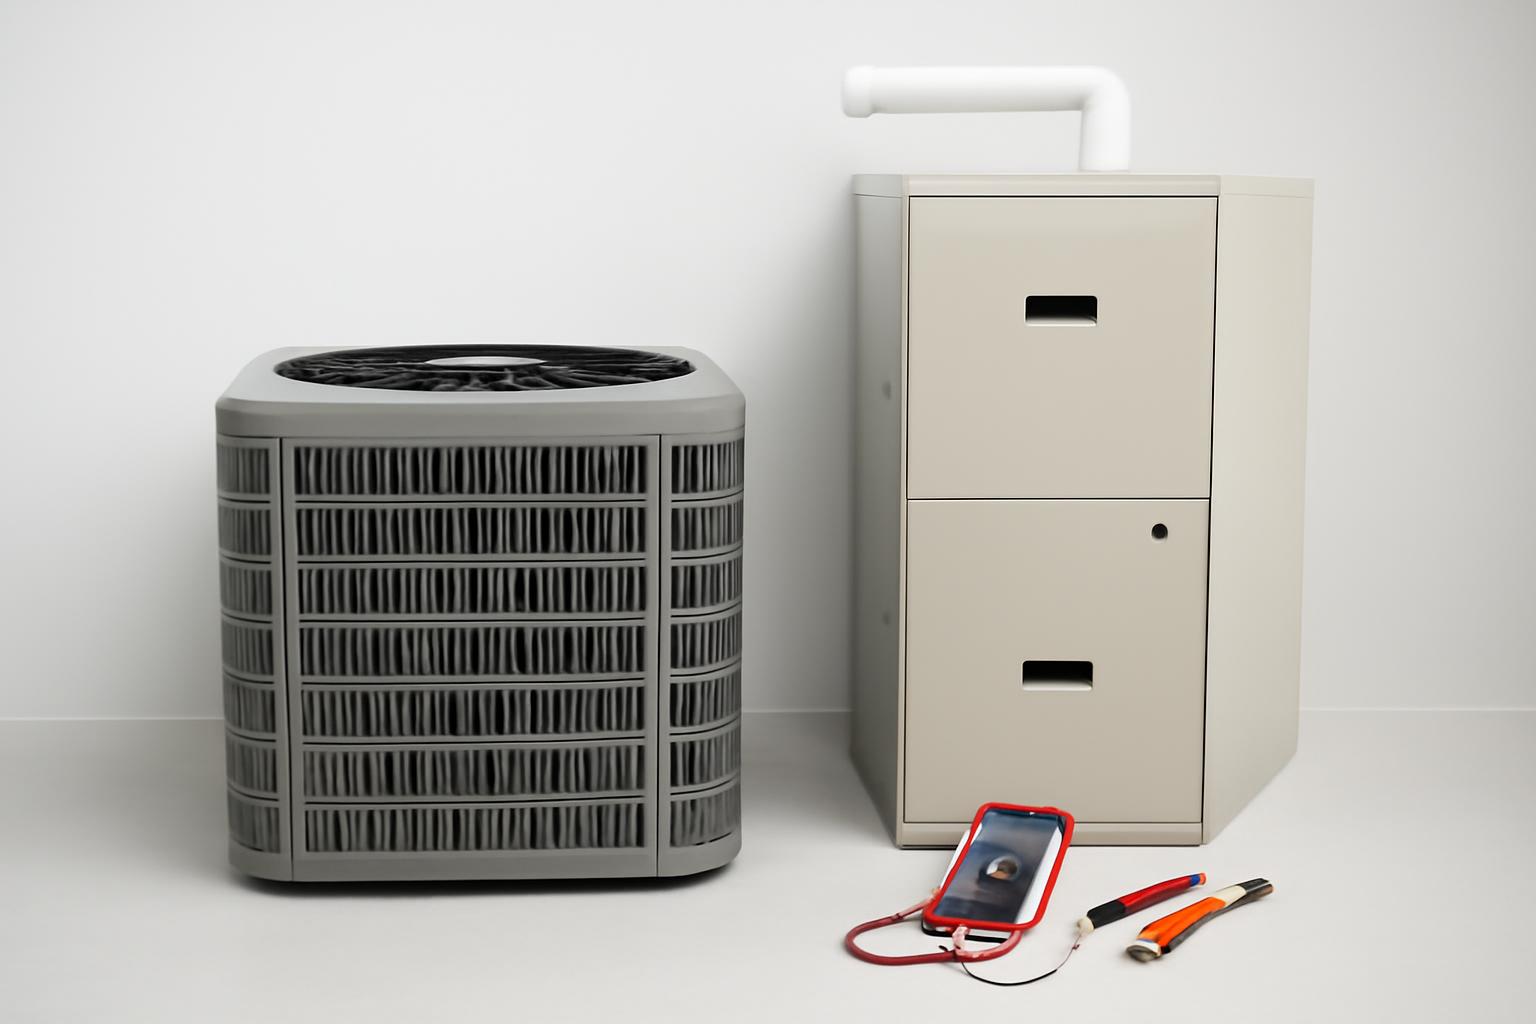
To fix a heating or air conditioning problem safely, first identify your equipment and rule out emergency warning signs, then work through five external checks in order: the thermostat, the filter and vents, accessible power, and the outdoor unit, followed by a verification cycle. Success means the system starts, runs through a complete cycle with expected airflow, and the original symptom does not return. Anything beyond those checks, including internal electrical, combustion, refrigerant, or mechanical work, belongs to a trained professional.
This order matters because the most common fixable causes are also the easiest to see. Carrier’s residential repair guide and Lowe’s air conditioner troubleshooting guide both start with thermostat settings, filter condition, and power before considering anything inside the equipment, and both draw a clear line at high-voltage and refrigerant work. This article follows the same logic for both heating and cooling: complete the checks one at a time, note what you observe after each one, and stop the moment a symptom crosses a safety boundary. The two sections that follow cover the prerequisites, which are knowing what system you have and knowing which signs mean stop.
Identify your system and gather the essentials
Before you troubleshoot anything, name the equipment you are working with. Residential homes are heated and cooled by several different system types: a furnace (which burns fuel or uses electric elements and pushes warm air through ducts), a heat pump (which both heats and cools using refrigerant), a boiler (which heats water for radiators or floor loops), a ductless mini-split (with wall-mounted indoor units), a packaged system (with all components in one outdoor cabinet), or a room unit such as a window air conditioner. The checks in this article apply broadly to ducted forced-air systems and, where noted, to other types, but the correct next step often depends on which one you have.
You can usually identify the system without opening anything. Look at three accessible sources of information:
- The equipment label. The visible data plate on the indoor or outdoor cabinet lists the manufacturer, model, and often the equipment type.
- The thermostat or controller. A thermostat with both “Heat” and “Cool” modes on one system often indicates a heat pump or a furnace paired with central air.
- The owner’s manual. The U.S. Consumer Product Safety Commission (CPSC) advises always referring to the owner’s manual when performing minor adjustments or servicing fuel-burning equipment, and the manual is also the most reliable statement of what maintenance the manufacturer expects you to do yourself.
Write down the brand, model number, and system type before you start. You will need them if the checks below do not resolve the problem. Do not remove service panels or open sealed compartments to find this information; if you cannot identify the system from accessible labels and the manual, note that and continue cautiously with the external checks only.
Stop immediately for emergency warning signs
A few symptoms mean you should stop troubleshooting entirely, because continuing puts you at risk. Check for these before you touch a thermostat or a breaker.
A carbon monoxide alarm is sounding. The CPSC’s carbon monoxide fact sheet is explicit: never ignore an alarming CO alarm, and do not try to find the source of the carbon monoxide. Instead:
- Immediately move outside to fresh air.
- Call your emergency services, fire department, or 911.
- After calling, do a head count to confirm everyone is accounted for, and do not reenter until emergency responders give you permission.
The CPSC also states that if the source turns out to be a malfunctioning appliance, you must not operate that appliance until it has been properly serviced by trained personnel. That means a heating system implicated in a CO alarm is off-limits for any further homeowner troubleshooting, full stop.
Smoke or a burning electrical smell. Carrier’s repair guide lists burning smells, tripped breakers, and flickering lights as signals of serious wiring issues that need professional diagnosis to prevent fire hazards. If you see smoke or smell burning near the equipment, stop troubleshooting and get the problem inspected before running the system again.
A gas odor. If you smell gas near a fuel-burning appliance, leave the area and follow the instructions of your local utility or emergency services from a safe location. Do not attempt to trace the odor or continue working around the equipment. Gas utilities publish their own emergency procedures, and those instructions take precedence over any general troubleshooting sequence.
If none of these signs is present, you can proceed to the first-check sequence.
Follow the safe first-check sequence
The five steps below are ordered from the most common fixable cause to the least, and each one stays outside the equipment. Complete one step at a time, and write down what you observe before moving to the next. That record matters twice: it tells you whether a check actually changed anything, and it becomes your symptom summary if you end up calling a technician. Each step names the input you need, the action to take, and the result to look for.
Step 1: Check the thermostat
Start with the device that tells the system what to do. The input is the thermostat display, its operating mode, its temperature setpoint, and its batteries if it uses them. Lowe’s troubleshooting guide names checking the thermostat settings as the first thing you should do when trying to fix a home air conditioner, and Carrier’s guide adds that fresh batteries often solve issues with unresponsive systems or inconsistent temperatures.
Confirm the display is on and responsive. Set the mode deliberately: “Cool” for air conditioning or “Heat” for heating, then move the setpoint far enough past the current room temperature that the system should clearly start (a few degrees is usually enough to trigger a call). Replace the batteries if the display is blank or dim.
The observable result is one of two things. Either the system starts within a short wait, in which case continue to Step 5 to verify a full cycle, or nothing happens, in which case the unresponsiveness itself is a symptom. Note it and continue to Step 2.
Step 2: Check the filter and vents
A restricted airflow path can mimic several bigger failures. The input here is an accessible air filter and the visible supply and return openings in your rooms. Lowe’s guide notes that a clogged air filter can cause poor airflow through vents, inadequate cooling, water leaks from the unit, and frozen evaporator coils, which is why this one check appears in nearly every troubleshooting sequence. Carrier’s guide calls a clean filter the first line of defense, reducing system strain and resolving weak airflow.
Pull the filter and hold it up to the light. If it is visibly clogged with dust, replace it with the size and type your system uses. Then walk the house and confirm supply and return vents are open and not blocked by furniture or rugs. Lowe’s specifically warns against closing vents to save energy: blocked vents force the system to work harder and can even damage the compressor in extreme temperatures.
The observable result is airflow. If it improves after a fresh filter and open vents, continue to Step 5. If airflow stays weak, note it; the airflow symptom branch below covers what that can mean.
Step 3: Check accessible power once
A system that is completely silent may simply have lost power. The input is any accessible normal power control (such as a visible switch near the equipment, if your system has one you already know) and the labeled HVAC breaker in your electrical panel. Carrier’s guide notes that resetting a tripped breaker can restore power immediately and address minor electrical interruptions without professional help.
Check the panel for a breaker in the tripped position. If the HVAC circuit is clearly labeled and you can reach the panel safely, reset it once. Then return to the thermostat and see whether the system responds.
The one-reset rule is the important part of this step. Lowe’s guide states it directly: if your HVAC system causes the circuit breaker to trip again shortly after resetting it, do not reset the breaker again; contact a professional for an inspection. A breaker that trips repeatedly is protecting the circuit from a real electrical problem, and forcing it back on does not fix that problem. The observable result is one of three outcomes: power returns and the system starts (go to Step 5), power stays absent (note it for the no-start branch), or the breaker trips again (stop DIY troubleshooting and book an inspection).
Step 4: Clear safe outdoor-unit obstructions
If your system has an outdoor unit, it needs a clear airflow path to work. The input is a safely accessible outdoor cabinet and any visible loose debris around it. Carrier’s guide recommends checking the condenser for obstructions like leaves or debris, because clearing the perimeter helps the system breathe, prevents overheating, and supports effective cooling.
With the system’s exterior in view, remove leaves, sticks, grass clippings, and other loose material from around the cabinet. Do not open the unit, remove panels, or spray anything inside it.
Sources disagree on how far a homeowner should go beyond loose debris. The Spruce’s HVAC repair guide identifies dirty condenser coils as a possible cause of poor cooling, and some service companies describe coil cleaning as a maintenance task, but the threshold for safe DIY coil work is not consistent across sources. The defensible boundary is this: limit yourself to loose exterior debris unless your manufacturer’s instructions clearly describe a homeowner cleaning procedure and you have safe access. Thick caked-on dirt, fragile aluminum fins, or buildup you cannot reach without opening the cabinet are all signals to have the coil cleaned professionally. The observable result is a visibly clear exterior airflow path around the unit.
Step 5: Restore the settings and verify operation
A check only counts as a fix if the system proves it. The input is your intended everyday thermostat settings plus the notes you made during Steps 1 through 4. Return the thermostat to its normal mode and setpoint, then stay nearby and observe a full startup: the system should start when called, air should move from the supply vents at the strength you normally expect, and the system should run and then shut off on its own rather than stopping abruptly or restarting immediately.
There is no universal number of minutes or degrees that proves success, and this article will not invent one. What you are looking for is simpler: stable operation with the original symptom absent. If the house begins moving toward the setpoint, airflow feels normal at the vents, and no warning sign returns, treat the fix as provisionally successful and keep an eye on it over the next day or two.
If the symptom comes back, the system shuts down unexpectedly, or a new warning sign appears, do not keep repeating the same check. A returning symptom usually means the accessible cause you addressed was not the root cause. Move to the symptom matching section below, or go straight to professional service if the symptom is on the stop list.
Match the symptom to the next safe action
When the first-check sequence does not resolve the problem, the symptom itself becomes your best guide to the next action. The matrix below maps the symptoms supported by the source set to the accessible checks you can still make, the fault categories a technician would consider, and the condition that means stop. One caution before you use it: a symptom narrows the possibilities, but it does not confirm a diagnosis. The Spruce’s guide, for example, lists dirty coils, a blocked condensate drain line, low refrigerant, and a faulty compressor as possible causes behind the same poor-cooling symptom, and only professional testing separates them.
| Observable symptom | Accessible checks | Possible fault categories | Verification signal | Stop condition |
|---|---|---|---|---|
| System will not start | Thermostat power and mode, batteries, labeled breaker (one reset) | Thermostat, power supply, electrical fault | System starts and completes a cycle | Breaker trips again after one reset (Lowe’s) |
| AC runs but does not cool | Filter, “Cool” mode, outdoor-unit debris, visible ice | Airflow restriction, dirty coils, drain blockage, refrigerant leak, blower or compressor (Carrier, The Spruce) | Supply air cools and house approaches setpoint | Hissing, ice that returns, or suspected refrigerant leak |
| No heat | Thermostat “Heat” mode, filter, vents, accessible power | Airflow restriction, control or power fault, fuel or combustion issue | Warm air reaches supply vents | Any combustion, gas, or CO concern (CPSC) |
| Weak or uneven airflow | Filter, open vents in every room | Duct restriction or leakage, dirty or frozen coil, sizing (Erie Institute of Technology) | Airflow evens out after restriction removed | Airflow stays poor after filter and vent checks |
| Short cycling | Filter, vent obstructions, thermostat location near heat sources | Dirty coils, frozen coil, oversizing, low refrigerant (Erie Institute of Technology) | Cycles lengthen and stabilize | Cycling continues after accessible checks |
| Ice on equipment | Filter; turn cooling off to let ice melt (The Spruce) | Airflow restriction, dirty coil, refrigerant problem | Ice does not return after melt and filter change | Ice returns after thaw |
| Water indoors | Look, do not open equipment | Clogged drain line, cracked drain pan, thawing frozen coil (Covington Heat & Air) | Water stops after professional drainage service | Ongoing leak near electrical components |
| Unusual noise or odor | Note the sound or smell and when it occurs | Loose parts, worn belt or bearing, electrical issue, mold (Covington Heat & Air; Carrier) | Noise or odor absent through a full cycle | Burning smell, grinding, or banging |
Use the matrix to pick your branch, then read the matching subsection below for the reasoning behind each row.
The system will not start
A completely unresponsive system almost always comes back to controls or power, so revisit those two checks with fresh eyes. Confirm the thermostat display is alive, the batteries are fresh, and the mode and setpoint actually call for operation; Carrier’s guide notes that fresh batteries often resolve unresponsive systems. Then confirm the breaker check from Step 3: a single reset of a clearly labeled, tripped HVAC breaker is reasonable when the panel is safely accessible.
The distinction that matters here is between restored startup and persistent power loss. If the reset brings the system back and it runs a normal cycle, verify per Step 5 and monitor it. If power never returns, or the thermostat works but the equipment stays silent, the fault sits somewhere you cannot safely reach: internal wiring, a control board, a capacitor, or a motor. The Spruce’s guide recommends contacting a repair professional when a faulty motor or damaged wiring is suspected, and Lowe’s one-reset rule applies with no exceptions. Do not open the equipment cabinet or the electrical disconnect to investigate further. A no-start with power present is exactly the kind of symptom your written notes make useful to a technician.
The air conditioner runs but does not cool
When the system runs but the air stays warm, separate what you can check from what you cannot. Carrier’s guide says to check the air filter first, because a clogged filter restricts airflow, then confirm the thermostat is set to “Cool.” Add the outdoor-unit debris check from Step 4, and look for visible ice on any accessible refrigerant line or equipment surface.
If you find ice, The Spruce’s guide describes a supported temporary action: turn the cooling off so only the fan runs, or shut the system off entirely, and let the ice melt on its own. Understand what that action does and does not accomplish. Melting the ice frees the equipment and may restore airflow, but it does not tell you whether the root cause was a clogged filter, a dirty coil, or a refrigerant leak. If cooling stays weak after the thaw and a fresh filter, or the ice comes back, the root cause is still there and needs professional testing.
Beyond the accessible checks, the remaining possibilities are internal. The Spruce lists dirty condenser coils, dirty evaporator coils, a blocked condensate drain line, low refrigerant, and a faulty compressor; Carrier adds the indoor blower motor and refrigerant leaks, noting that reduced cooling, ice on coils, or hissing sounds often indicate a leak. Refrigerant is a hard boundary, not a judgment call: EPA regulations under Section 608 of the Clean Air Act require certification for anyone who maintains, services, or repairs equipment that could release refrigerants, and Carrier’s guide states that only EPA-certified technicians should handle refrigerant.
The heating system does not produce heat
The honest answer for a no-heat symptom is that fewer safe checks exist than for cooling, and this article will not pretend otherwise. The external checks you can make mirror the first-check sequence: confirm the thermostat is set to “Heat” with a setpoint above room temperature, confirm the filter is clean and the vents are open, and confirm the system has power using the same one-reset breaker rule. The Erie Institute of Technology’s HVAC troubleshooting guide explains why the airflow checks still apply to heating: in a forced-air system, the equipment warms the air and the blower pushes it into the duct system for distribution, so a clogged filter or blocked vent restricts heat delivery the same way it restricts cooling.
Beyond those checks, the available evidence does not support walking you through gas-furnace ignition sequences, boiler pressure or pilot procedures, circuit-board diagnostics, or heat-pump refrigerant behavior, and attempting them from a generic article would be unsafe. Two authoritative boundaries frame what remains. For fuel-burning equipment, the CPSC’s carbon monoxide fact sheet says never to service fuel-burning appliances without proper knowledge, skill, and tools, and to always refer to the owner’s manual for even minor adjustments. For heat pumps, refrigerant-side work falls under the same EPA Section 608 certification requirement as air conditioning. If the external checks do not restore heat, record what you observed and arrange professional service, treating any gas odor or CO alarm as an emergency per the earlier section.
Airflow is weak or uneven, or the system short-cycles
Weak airflow, uneven room-to-room comfort, and short cycling (the system starting and stopping in rapid bursts) share overlapping causes, and the same two accessible checks apply to all three. First, the filter: the Erie Institute of Technology’s troubleshooting guide lists dirty filters among the common causes of both poor airflow and short cycling. Second, the vents: The Spruce’s guide attributes uneven cooling generally to closed or clogged vents and notes that keeping the airways clean and clear should correct the distribution imbalance. Lowe’s adds the compressor-protection reason to keep every vent open.
The observable result tells you whether the accessible restriction was the cause. After a fresh filter and fully open vents, airflow should feel more even across rooms, and cycles should lengthen and stabilize rather than stuttering on and off. If they do, verify per Step 5.
If the symptom persists, the remaining causes sit beyond homeowner access. For airflow, the Erie Institute of Technology guide lists blocked, disconnected, or crushed duct runs, duct leakage, too few return vents, and undersized vents or oversized ductwork. For short cycling, it lists dirty condenser coils, an improperly located thermostat, a frozen evaporator coil, an oversized air conditioner, and low refrigerant, and warns that neglected short cycling can lead to costly repairs later. Distinguishing among those requires duct inspection and system measurements, which is a professional diagnosis, not a further DIY step.
Ice, water, noises, and odors require different responses
These four symptom families look dramatic, but each points to a different fault category, and grouping them helps you choose the right response. None of them is a confirmed diagnosis on its own.
- Ice on equipment or lines usually signals an airflow or refrigerant problem. The supported temporary action, per The Spruce, is turning cooling off so the ice melts; returning ice means professional testing.
- Water around the indoor unit, according to Covington Heat & Air’s repair page, usually means a clogged condensate drain line, a cracked drain pan, or a frozen evaporator coil that is thawing. You can observe and contain the water, but clearing internal drainage is service work.
- Noises map roughly to mechanical categories. Covington’s page describes banging or clanking as usually a loose or broken component, and squealing or screeching as often a worn belt or failing motor bearing. Carrier’s guide adds that grinding, rattling, or humming suggests fan or compressor trouble, the heart of the system, and calls for professional care to prevent permanent damage.
- Odors split by type. Covington attributes musty smells typically to mold in the drain pan or ductwork, a moisture problem, while a burning smell can indicate an electrical issue. The Erie Institute of Technology guide notes odors can range from dirty-sock smells to burning or exhaust.
The dividing line is urgency. Musty odors and minor water pooling justify a scheduled service call. Burning smells, grinding, or banging justify shutting the system off now and not running it again until it has been inspected.
Know when to stop and call an HVAC professional
Everything in this article up to now has been external: settings, filters, vents, one breaker reset, and loose debris. The boundary past which a professional takes over is consistent across the sources, and it exists because the risks behind it (electrocution, fire, refrigerant exposure, carbon monoxide) are not visible from outside the equipment. Carrier’s guide states it plainly: issues involving high-voltage electricity, refrigerant, or complex mechanical components require a licensed HVAC professional, and attempting these fixes yourself can be dangerous and may void your warranty.
Stop and call a professional for any of the following:
- A breaker that trips again after one reset. Lowe’s guide is explicit: do not reset it again; get an inspection.
- Damaged wiring, burning smells, or flickering lights. Carrier identifies these as signals of serious wiring issues and fire hazard.
- Suspected motor, fan, or compressor failure. The Spruce recommends professional repair for faulty compressors, motors, and damaged wiring; Carrier ties grinding, rattling, and humming to these components.
- Anything involving refrigerant. EPA Section 608 regulations require certification for technicians who maintain, service, or repair equipment that could release refrigerants, and the certification tests are specific to equipment type.
- Fuel-burning equipment beyond owner’s-manual adjustments. The CPSC says never to service fuel-burning appliances without proper knowledge, skill, and tools, and any appliance implicated in a CO alarm must not be operated until serviced by trained personnel.
- Any warning sign that returns after a provisional fix, including ice, water, short cycling, or odors.
Reaching this boundary is not a failure of the troubleshooting. The checks you completed either solved the problem cheaply or produced a precise symptom record, and that record is exactly what makes the next step efficient.
Prepare for the service visit
A concise symptom record turns a vague “it’s broken” call into a focused diagnosis. Before you contact a technician, gather what you observed during the checks. Provider workflows vary, so treat this as preparation rather than a guaranteed script, but most of what a technician needs at intake fits in a short list:
- The brand, model number, and system type from the accessible data plate
- Any error code or message displayed on the thermostat or equipment
- The main symptom and when it started
- Sounds, odors, visible ice, or water, and where you noticed them
- Cycle behavior: will not start, runs without conditioning, or short-cycles
- The checks you completed and their results, including whether the breaker tripped again
- Recent maintenance, such as when the filter was last changed
A sample summary might read: “Heat pump, [brand] model [number]. Cooling mode runs but supply air is warm. Filter replaced two days ago, vents open, outdoor unit clear of debris. Found ice on the outdoor line; system off since yesterday and ice has melted, but cooling is still weak. Breaker has not tripped. No error codes displayed.”
During the visit, ask for the diagnosis and a written scope before approving work, and afterward ask how the technician confirmed the repair restored normal performance. Those two questions keep the visit anchored to the symptom you recorded rather than to open-ended work.
Prevent the problem from returning
Most of the checks that fixed or narrowed your problem convert directly into a modest prevention routine. The goal is not a rigid schedule, because the right frequency depends on your filter type, home, and usage, and no source in this article’s evidence supports a universal interval. The goal is to keep the accessible failure points from quietly degrading again.
- Inspect the filter regularly and replace it when it is visibly loaded. Carrier’s guide calls a clean filter the first line of defense for efficiency and airflow, and Lowe’s ties a clogged filter to poor airflow, weak cooling, water leaks, and frozen coils.
- Keep every supply and return vent open and unblocked. Lowe’s warns that blocked vents make the system work harder and can damage the compressor.
- Keep the outdoor unit’s perimeter clear of leaves and debris, per Carrier, checking especially after storms and leaf fall.
- Follow your manufacturer’s instructions for any maintenance beyond these checks; the CPSC advises operating appliances according to the manufacturer’s instructions and local building codes.
- Have the heating system professionally inspected and serviced annually. The CPSC recommends this interval specifically, and notes the inspector should also check chimneys and flues for blockages, corrosion, and disconnections.
None of this guarantees a failure-free system, but it addresses the causes that appeared most often in your troubleshooting: restricted airflow and blocked heat exchange.
Should I use a rule of thumb to decide whether to repair or replace my HVAC system?
Treat repair-versus-replacement formulas as optional budgeting prompts, not decision rules, because the vendor heuristics in circulation disagree with each other. Carrier’s repair guide describes a “$5,000 Rule”: multiply the unit’s age in years by the estimated repair cost, and if the total exceeds $5,000, replacement is often the smarter long-term investment. Covington Heat & Air, an Oklahoma City service company, uses a different rule: if the repair cost is more than half the cost of a new system and the unit is over 10 years old, replacement is usually the smarter long-term choice.
These two formulas can point in opposite directions for the same system. A heuristic like this may not reflect your local prices, your system’s actual condition, or the specific fault a technician found. Neither is a universal standard, and neither reflects your local prices, your system’s actual condition, or the specific fault a technician found.
What matters more than any formula is the sequence you have already followed: get an actual diagnosis, understand the expected repair scope, and then request written repair and replacement options you can compare side by side. Ask the technician what the diagnosed fault implies about the rest of the system’s condition, and how each option was priced. A rule of thumb can prompt that conversation; it should not replace it.